IoT Hack: Upgrade Your Particle Devices with TEAL Connectivity

Many people are aware of the IoT hardware company Particle. They have been very successful in providing an easy-to-use end-to-end platform for developing IoT solutions, which has undoubtedly contributed to the rapid growth of the Internet of Things.
Unfortunately for users of their product, Particle’s platform is great at some things (device management and hardware design) but poor at others (dynamic eSIM, connectivity management, and cellular offerings). The good news is that there’s a great alternative for those frustrated with Particle’s connectivity offerings.
Teal’s intelligent connectivity platform can help Particle users upgrade their cellular connectivity in a few easy steps. Unlike Particle, Teal’s connectivity solution is redundant (for example, our platform has LTE-M on AT&T and Verizon in the U.S.), affordable (just $0.01 per MB, instead of $0.40 per MB (OwO)) and it can be continuously managed through a carrier-neutral eSIM platform.
The rest of this blog will take you through the steps our dev team went through to combine the hardware benefits of Particle, with Teal’s intelligent connectivity solution.

Required Equipment:
-
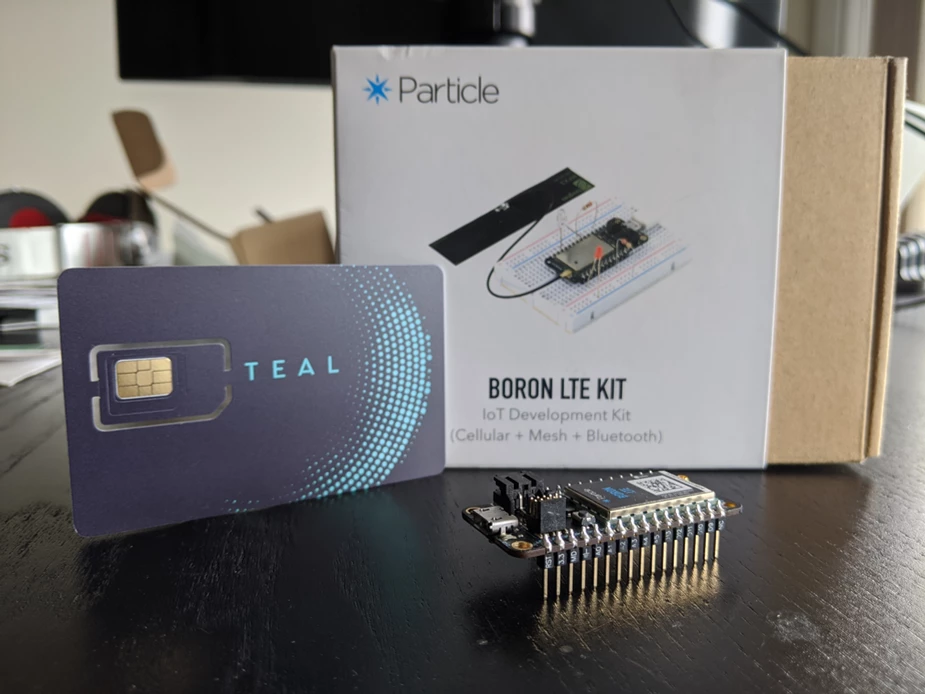
Particle Boron LTE-M Module
-
Teal eSIM Card (2FF/3FF/4FF)
-
PC with Particle Command Line Interface
-
Particle CLI Windows Installer (Drivers Included)
-
Particle CLI Linux/Mac Install via Terminal:
Device Setup:
Once we set up our PC with the Particle CLI, we were ready to set up the Boron LTE-M device. We followed the below steps to set-up the device:
-
Browsed to the official Particle mesh firmware releases page.
-
Downloaded the hybrid bin file: hybrid-0.9.0-boron.bin and the tinker bin file: tinker-0.9.0-boron.bin to our folder /downloads/boronteal
-
Plugged the Boron module into the PC and put it into Download/DFU mode (blinking yellow) by holding down both RESET and MODE, then released only the RESET button. While still holding down the MODE button, waited for the LED to start flashing yellow (it will flash magenta first) before releasing the MODE button and being in DFU mode.
-
Opened a Command Prompt / Terminal and navigated to where we saved the hybrid bin file. Ran the below code:
After these steps, the Boron LTE-M device was running the hybrid firmware!
TEAL APN Program + Firmware Compile
Below is the program Particle’s Boron device needs to run in order to set the Teal eSIM as active and apply the Teal APN. You can copy our code below into your existing programs or download the program as we have saved it for you. Note: remove the “teal.cpp.txt” txt extension so it is just “teal.cpp” Note: The Teal APN is stored as a global value, so you will not need to reflash it after every eSIM operation.
#include “Particle.h”
#include “dct.h”
SYSTEM_MODE(SEMI_AUTOMATIC);
// setActiveSim and setCredentials must be in STARTUP to take effect immediately
STARTUP({
Cellular.setActiveSim(EXTERNAL_SIM);
Cellular.setCredentials(“teal”);
});// The order here is important because the APN needs to be set only after the SIM switch
int at_ret_val = 1;
void setup() {
Cellular.on();
int retry_count = 3;
while(at_ret_val != RESP_OK && retry_count)
{ delay(5000);
// not resetting after UMNOPROF setting because in Gen3,
// we reset as a part of putting the second/actual app firmware
at_ret_val = Cellular.command(10000,“AT+UMNOPROF=1rn”); retry_count—;
}
// This clears the setup done flag on brand new devices so it won’t stay in listening mode
const uint8_t val = 0x01;
dct_write_app_data(&val, DCT_SETUP_DONE_OFFSET, 1);
// This is just so you know the operation is complete
pinMode(D7, OUTPUT);
digitalWrite(D7, HIGH);
}
void loop() {
// If setting the UMNOPROF (mobile network profile) was unsuccessful,
LED blinks every 1 sec
if (at_ret_val != RESP_OK) {
digitalWrite(D7, HIGH); delay(1000);
digitalWrite(D7, LOW); delay(1000);
}
}
The last step in this section is to compile the code into Teal’s custom firmware. From the same directory your hybrid bin file is located, we ran the below:
particle compile boron teal.cpp —saveTo tealfirmware.bin —target 0.9.0
Final Device Config
Finally, we were ready to flash the custom firmware we compiled. Putting our device back into Download/DFU mode, we ran the below code from the same file directory /downloads/boronteal as the previous steps:
particle flash —usb tealfirmware.bin
Then, we flashed Tinker back to the Boron
particle flash —usb tinker–0.9.0–boron.bin
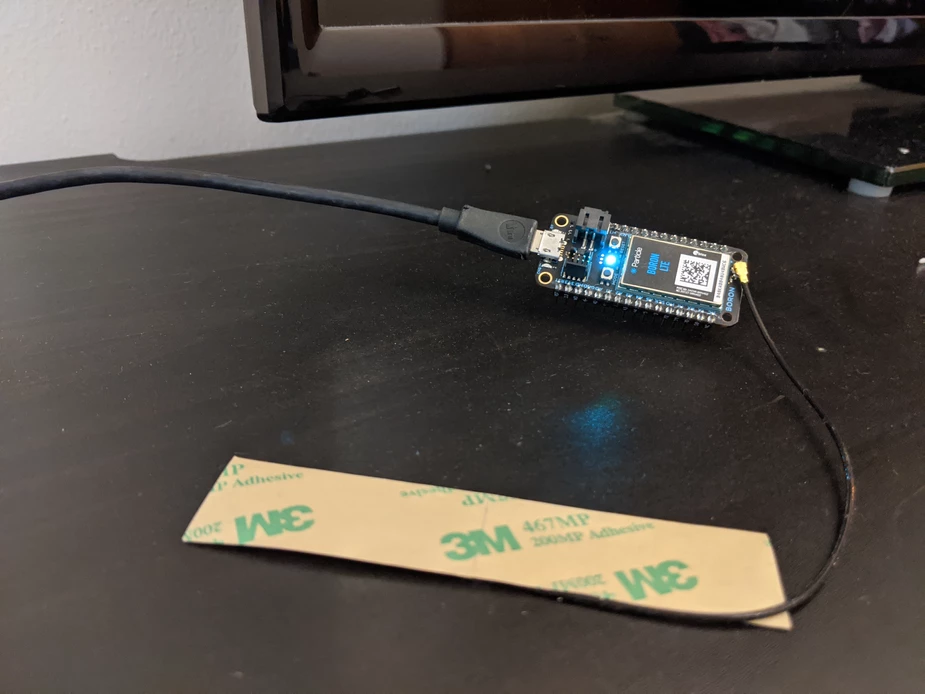
Voila! The device finished flashing and turned on with the Teal eSIM inserted. We saw that calming breathing blue cyan LED on the device which indicated that it was communicating with the Particle platform (but supercharged with Teal’s eSIM!).
Additional Resources:
Recent Posts
New Podcast! Space and Air Supremacy: The Role of Drones in Modern Warfare
Teal Communications Staff2025-06-25T20:15:23+00:00
Mission Critical Connectivity: Secure Information Ensures Mission Success
Teal Communications Staff2025-06-25T02:21:28+00:00
3 Things to Avoid When Choosing a Connectivity Provider
Teal Communications Staff2025-06-20T20:53:06+00:00


